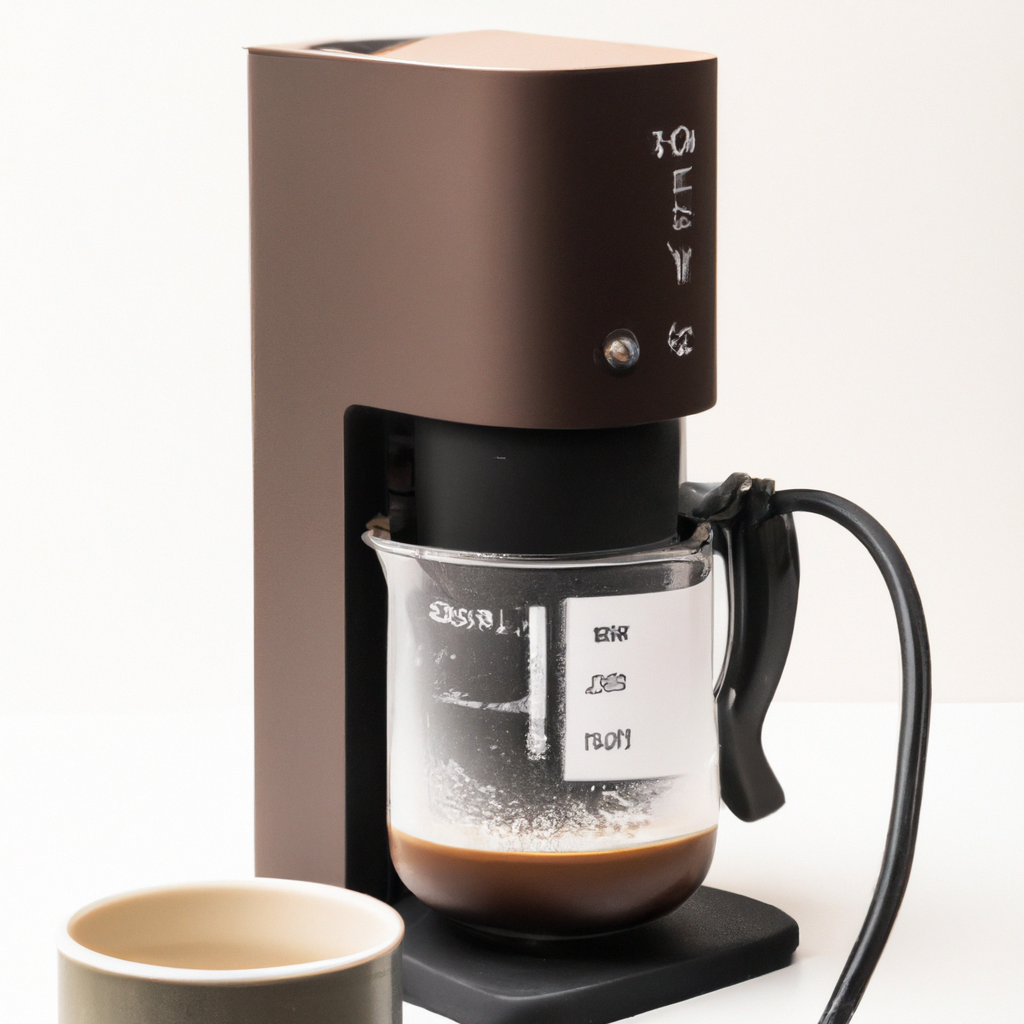
How to Use Your Ninja Coffee Maker
Step 1: Prepare the Coffee Maker
Make sure your Ninja Coffee Maker is plugged into a power source and turned on.

Step 2: Measure and Add Water
Using the provided carafe, measure and pour cold water into the water reservoir located at the back of the machine. Ensure you do not exceed the maximum capacity line.

Step 3: Insert a Coffee Filter
Choose a disposable paper filter or a reusable filter and place it into the designated filter holder. Make sure the filter is properly aligned to avoid any leakage.

Step 4: Add Ground Coffee
Measure the desired amount of coffee grounds based on your preferred coffee strength and place them into the filter.

Step 5: Select Brew Size and Type
Using the control panel, choose the desired brew size and coffee strength. Most Ninja Coffee Makers offer options such as “Classic,” ”Rich,” and “Over Ice.” Adjust the settings according to your taste preference.

Step 6: Start Brewing
Once you have set the desired options, press the “Brew” button to start the brewing process. The machine will handle the rest.

Step 7: Enjoy Your Coffee
As soon as the brewing process is complete, your coffee is ready to be served. Pour it into your favorite mug and savor the delicious aroma and taste.
